When I set out to create my first historically inspired outfit, I knew I wanted to start with the 18th century because it seemed the easiest in terms of construction. Now, several pieces in, I stand by that assumption, though it still remains the only time period I have delved into thus far.
I decided to try my hand at a mid 1780s outfit, as I am not a huge fan of earlier styles from this century. The puffy hair, ginormous hats/caps, and fuller skirts of the mid 80s speaks to me on a personal level, though, so I am aiming for a middle/merchant class ensemble, inspired by the several fashion plates/portraits from the time. Basically, just search “modes de 1785” in Google images, and you’ll see what I mean 🙂
Despite the finicky sleeve settings (we’ll get to those in a later post) and interesting pleat and lacing placements, the basic shapes of 18th century garments are relatively simple. This is perhaps best exemplified by the basic shift or chemise, which in its most basic form is constructed out of several rectangles. But the foundational petticoat also exhibits this simplicity, being constructed literally out of two to four rectangles.
I constructed my first petticoat out of a thrifted bedsheet. It is 100% cotton, which is one of the many anachronisms I have settled for so far, as linen is usually decidedly out of my budget.
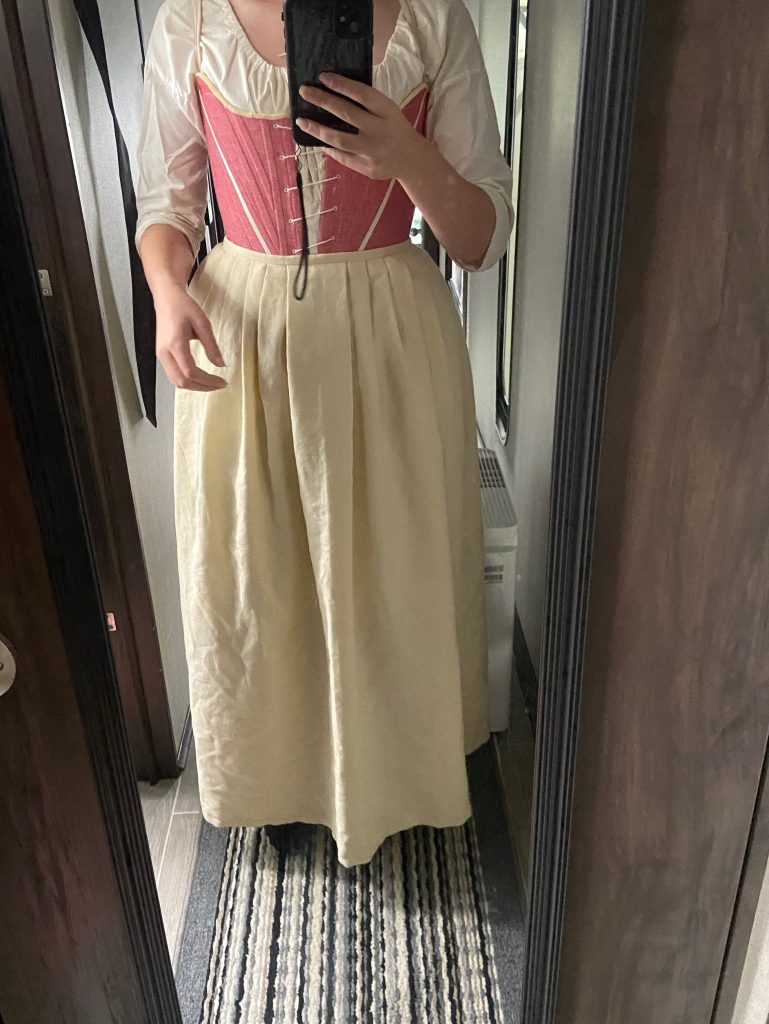
I at least had the decency to choose a historically appropriate color, as various shades of yellow are achievable with a variety of plant dyes.
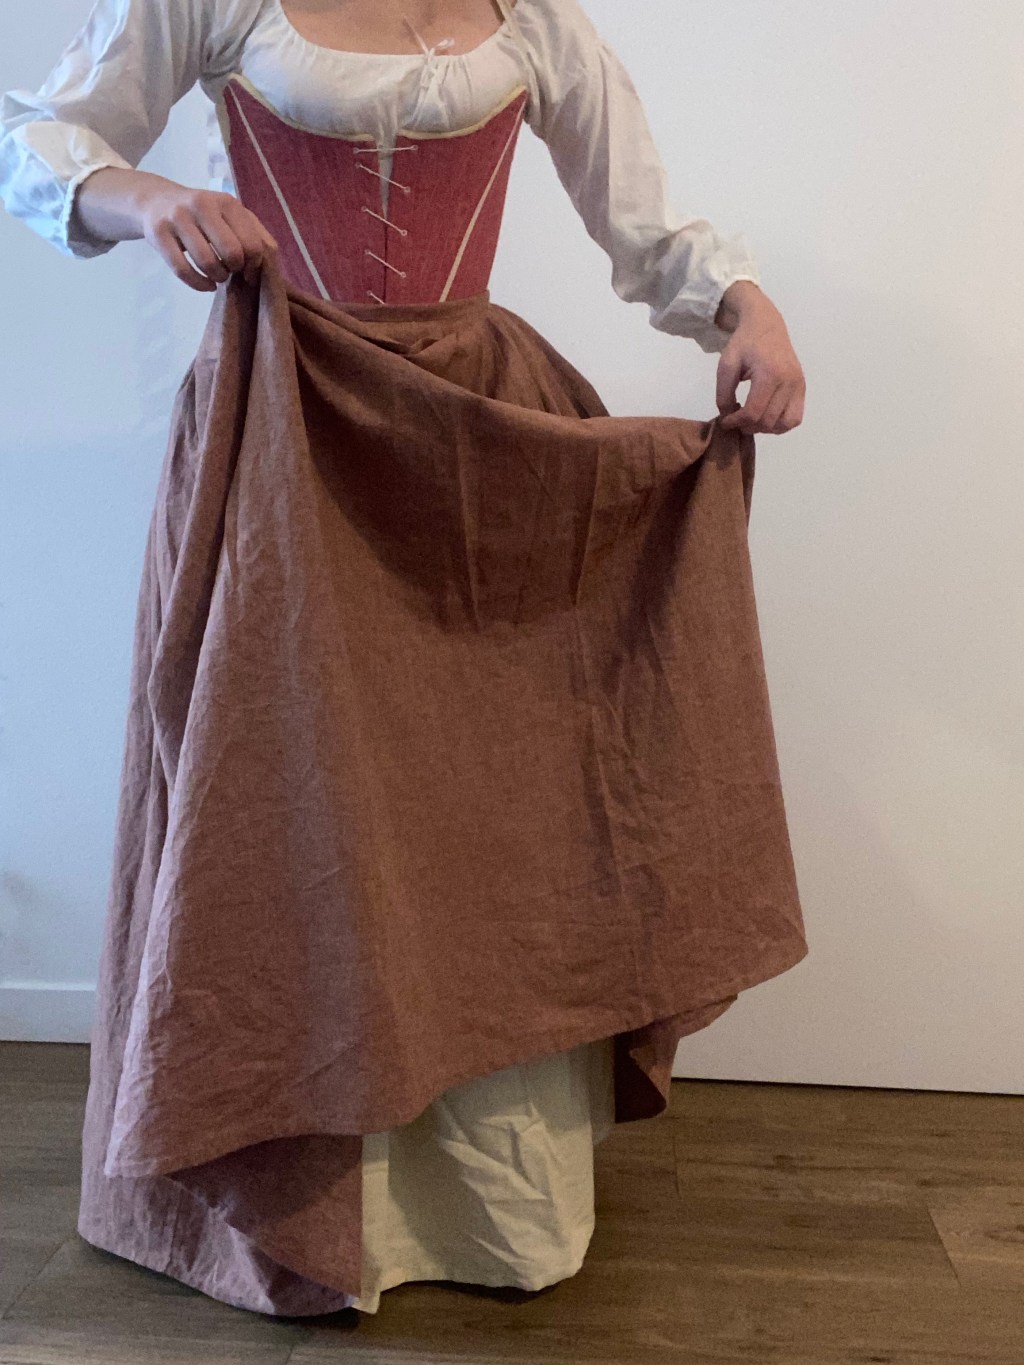
I knew I needed at least two petticoats for this project, so I had my eye out for a decent fabric for an outer skirt when I stumbled across two Target brand curtains at a thrift store.
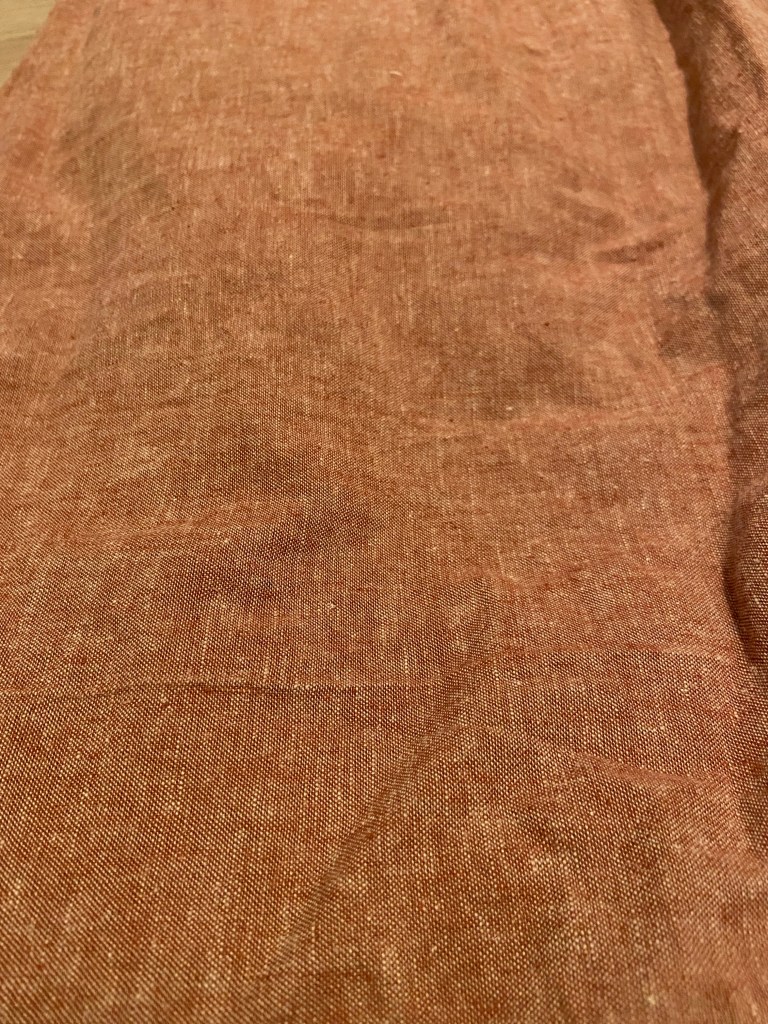
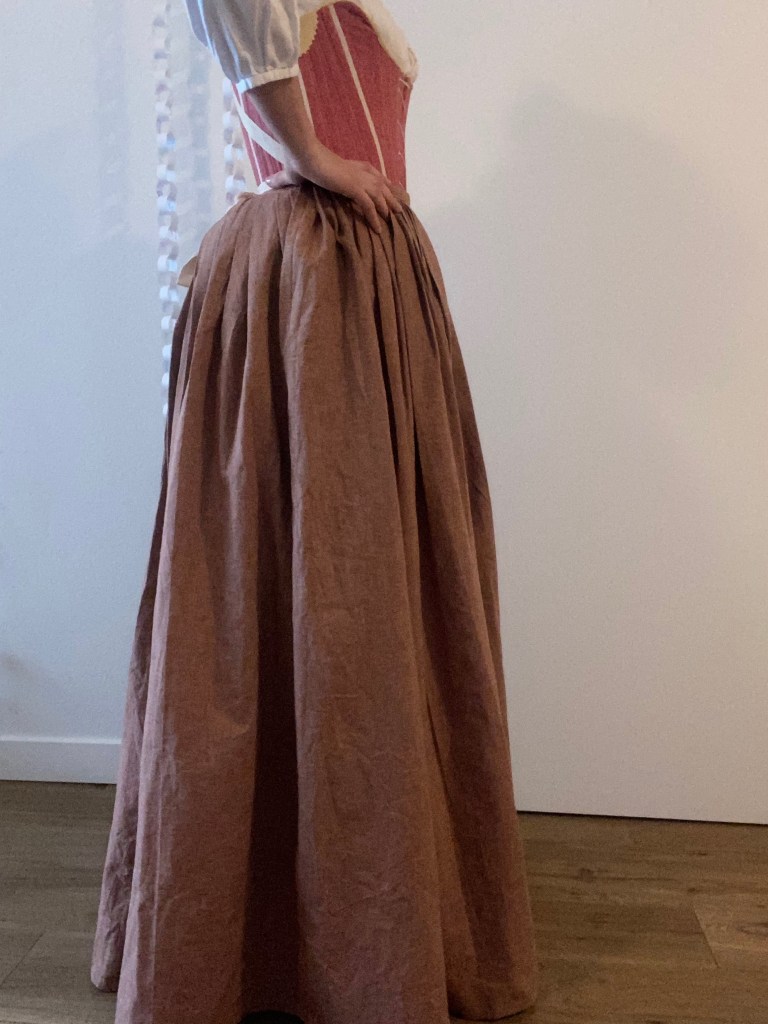
They are a lovely pink-y rust color, which I think is a plausible shade, and they are at least 50% linen, which is an upgrade for me. I was a little skeptical about the weight and weave of the fabric, but the petticoat came out with a nice drape, and the fabric was a dream to work with! Linen is notorious for its ability to hold a crease, which makes it a nightmare to keep pressed and smooth, but an absolute wonder to hand sew.
I cut two rectangles out of them (think they were around 80″ wide and as long as the distance between my waist and ankles), and hand sewed the side seams with a spaced backstitch, leaving about 10″ open at the top.
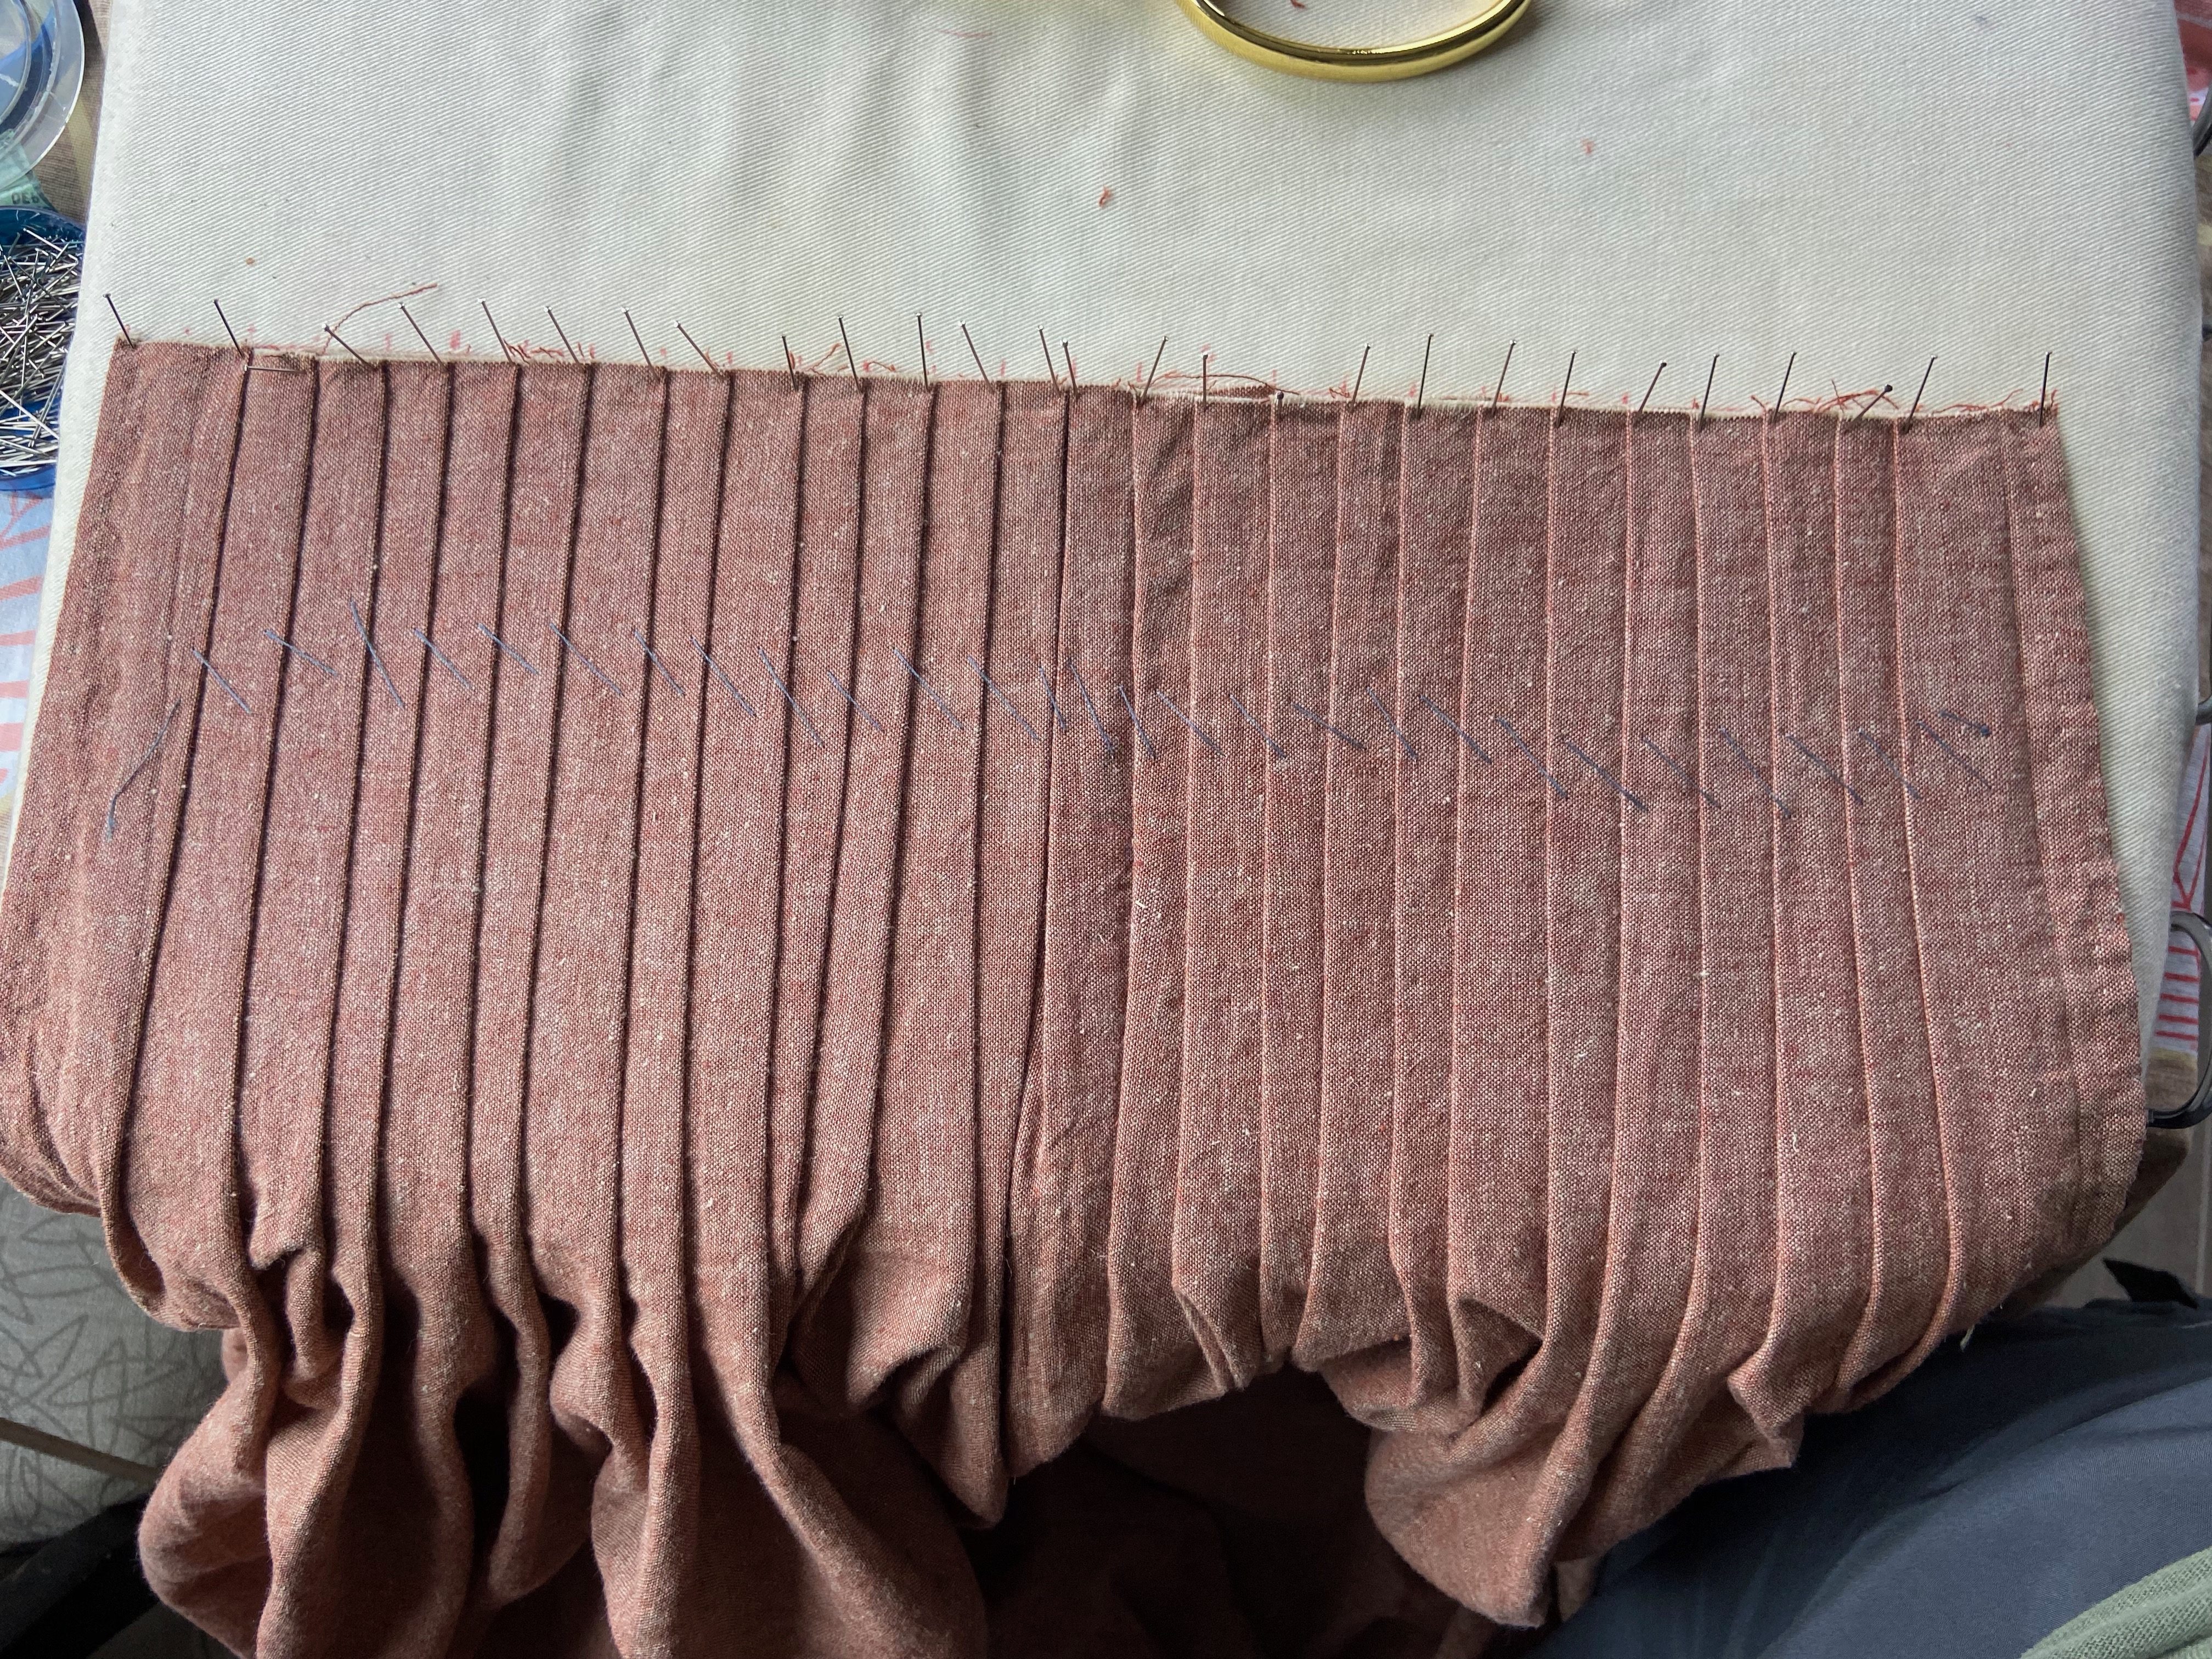
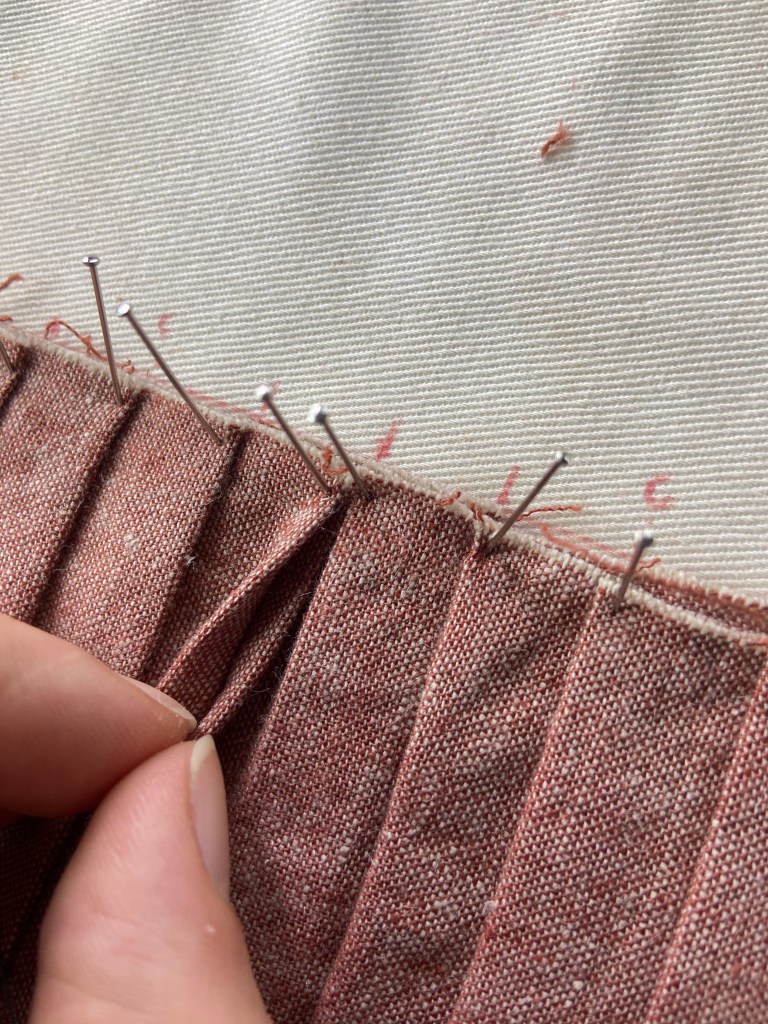
And now I’ll let you in on my favorite way to make pleats, with no maths involved! It’s not really a “hack”, but it’s a way I’ve found that makes getting even pleats a lot easier.
I get a heat-erasable pen (I love Pilot Frixion pens!) and mark out a line on my ironing board (pictured is one of those foldable mini ones folded in half, which is why it looks funny).
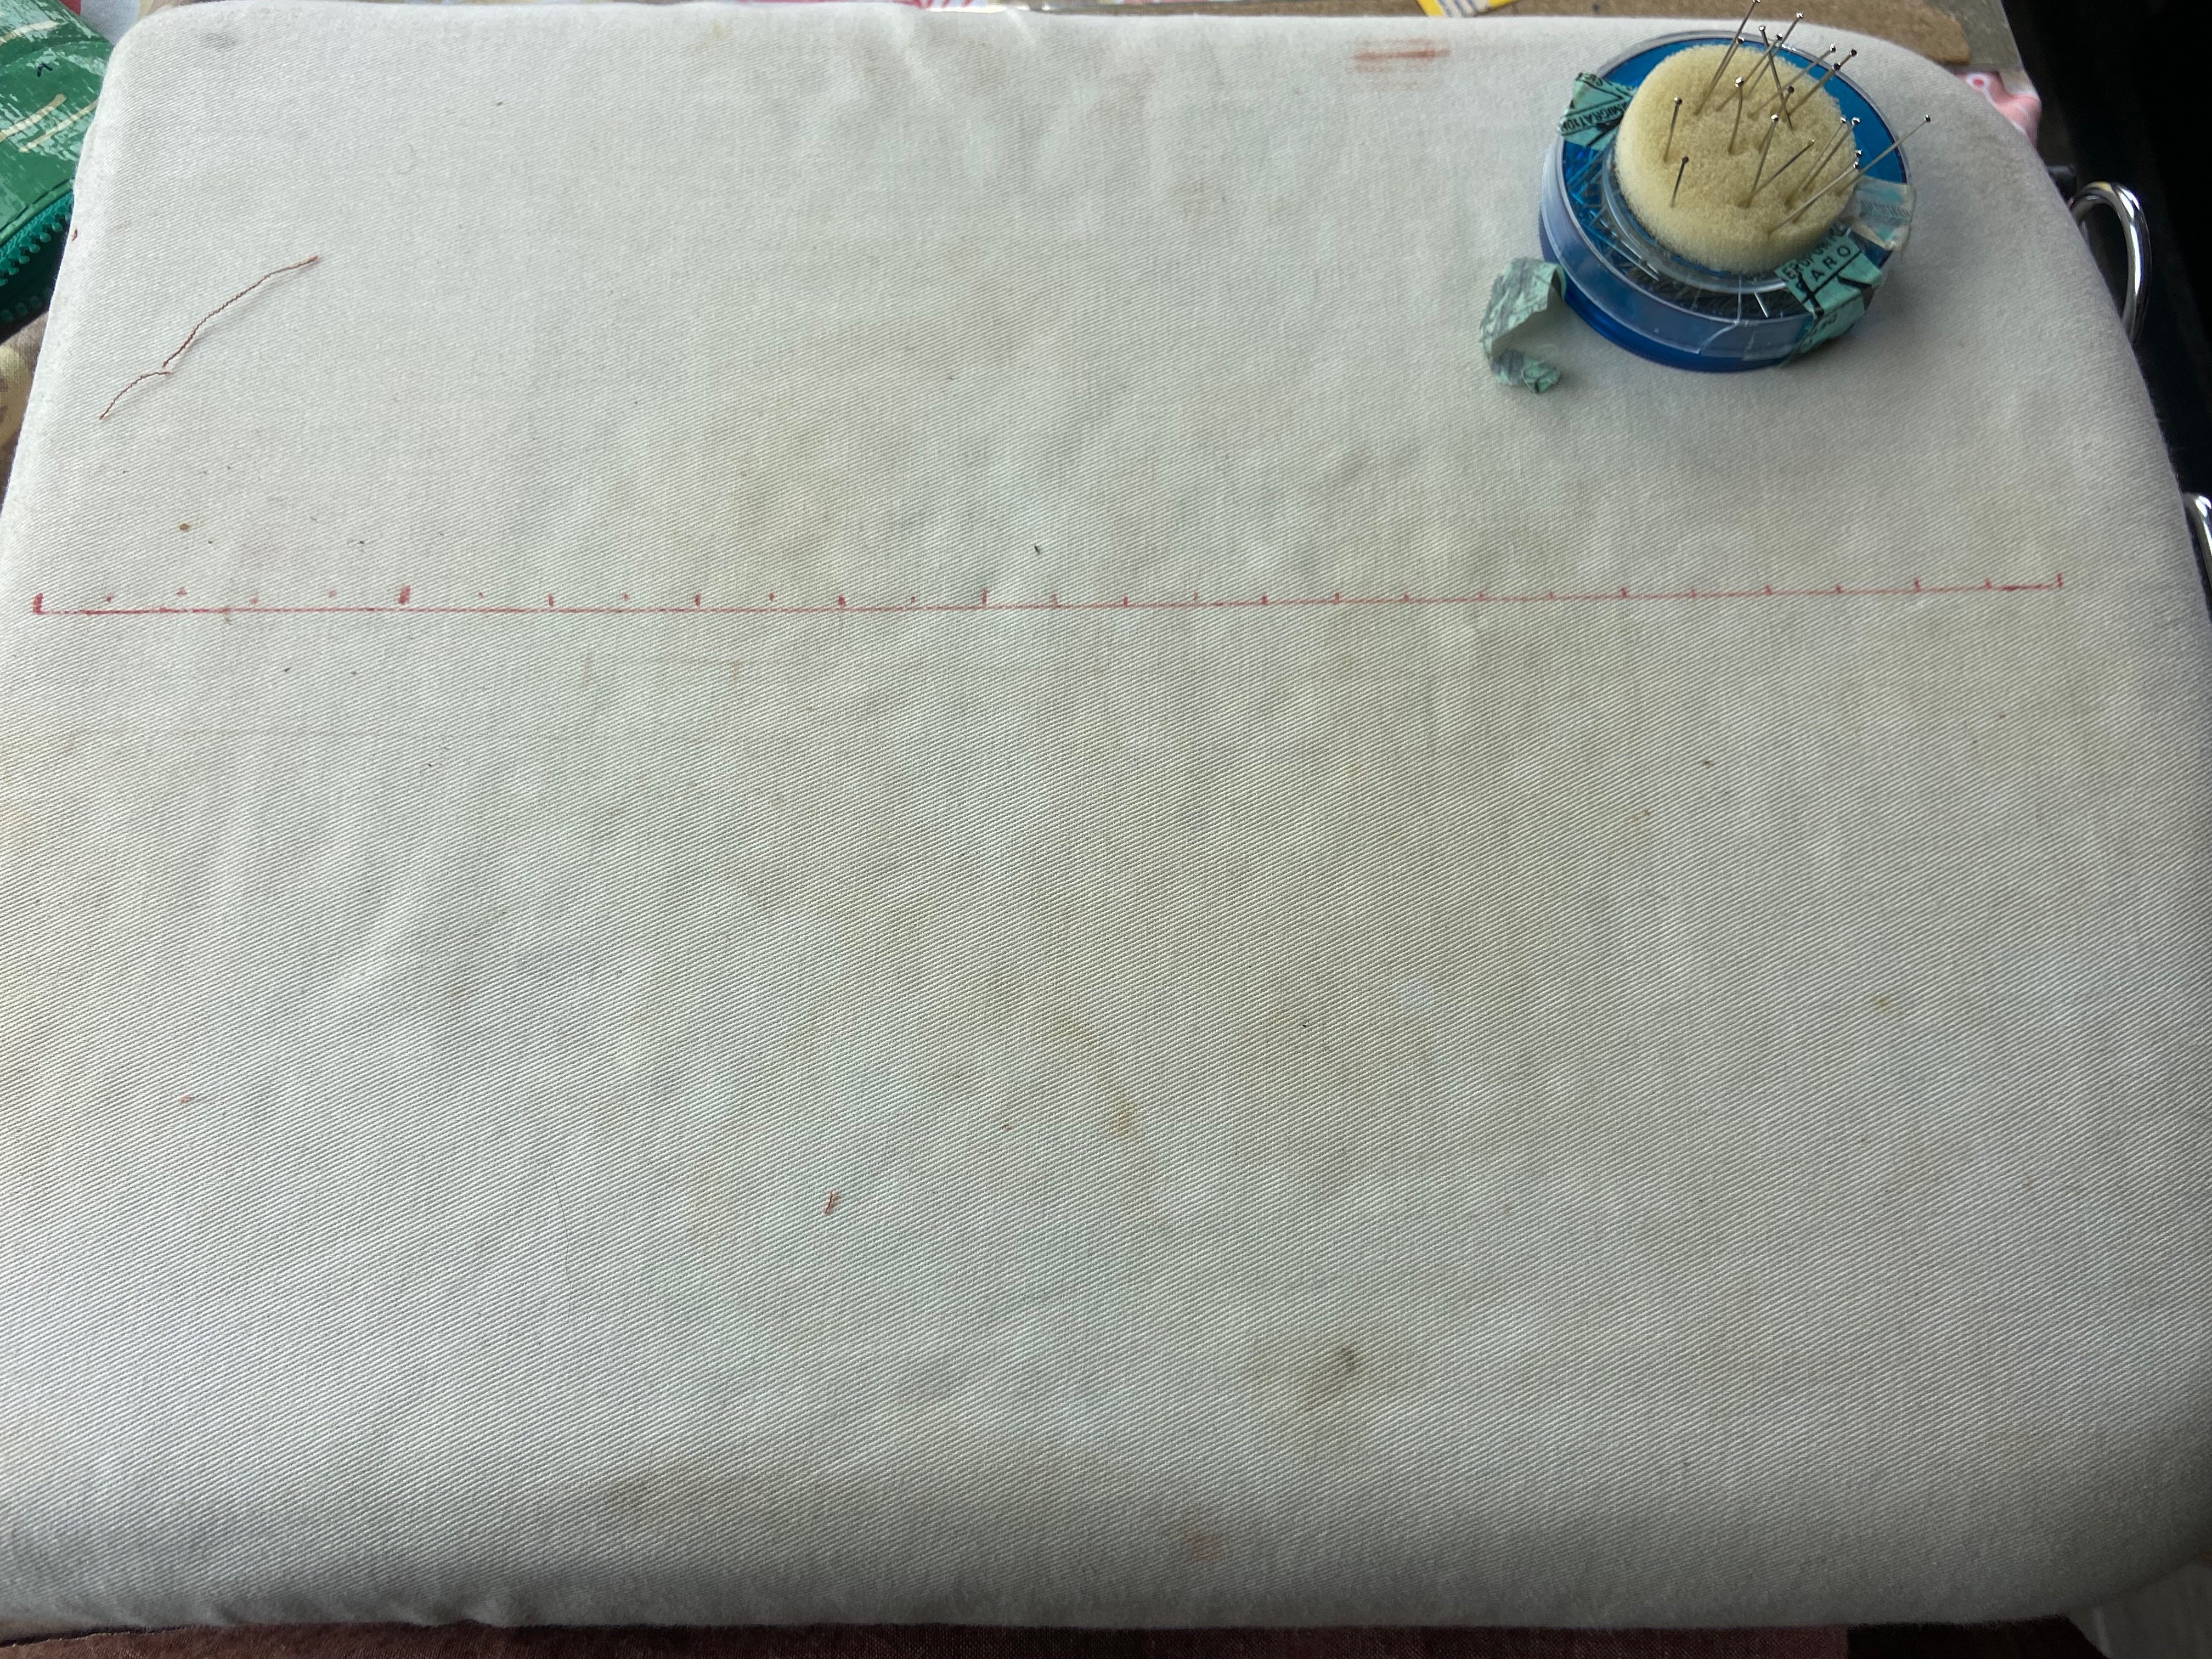
The length of the line is equal to half of my waist measurement (in stays) plus a little extra for ease/seam allowance. Then, I put marks in 1/2″ intervals along the line. And now the fun part begins!
Using pins, I attach the middle and end points of my fabric rectangles to the corresponding middle of the line, then, using the marks as reference, I begin to pleat from the middle, fiddling as I go. This method helps me achieve even pleats without having to calculate a formula and measure every single pleat as I go (if that method works for you, go for it! I just do not have that much patience).
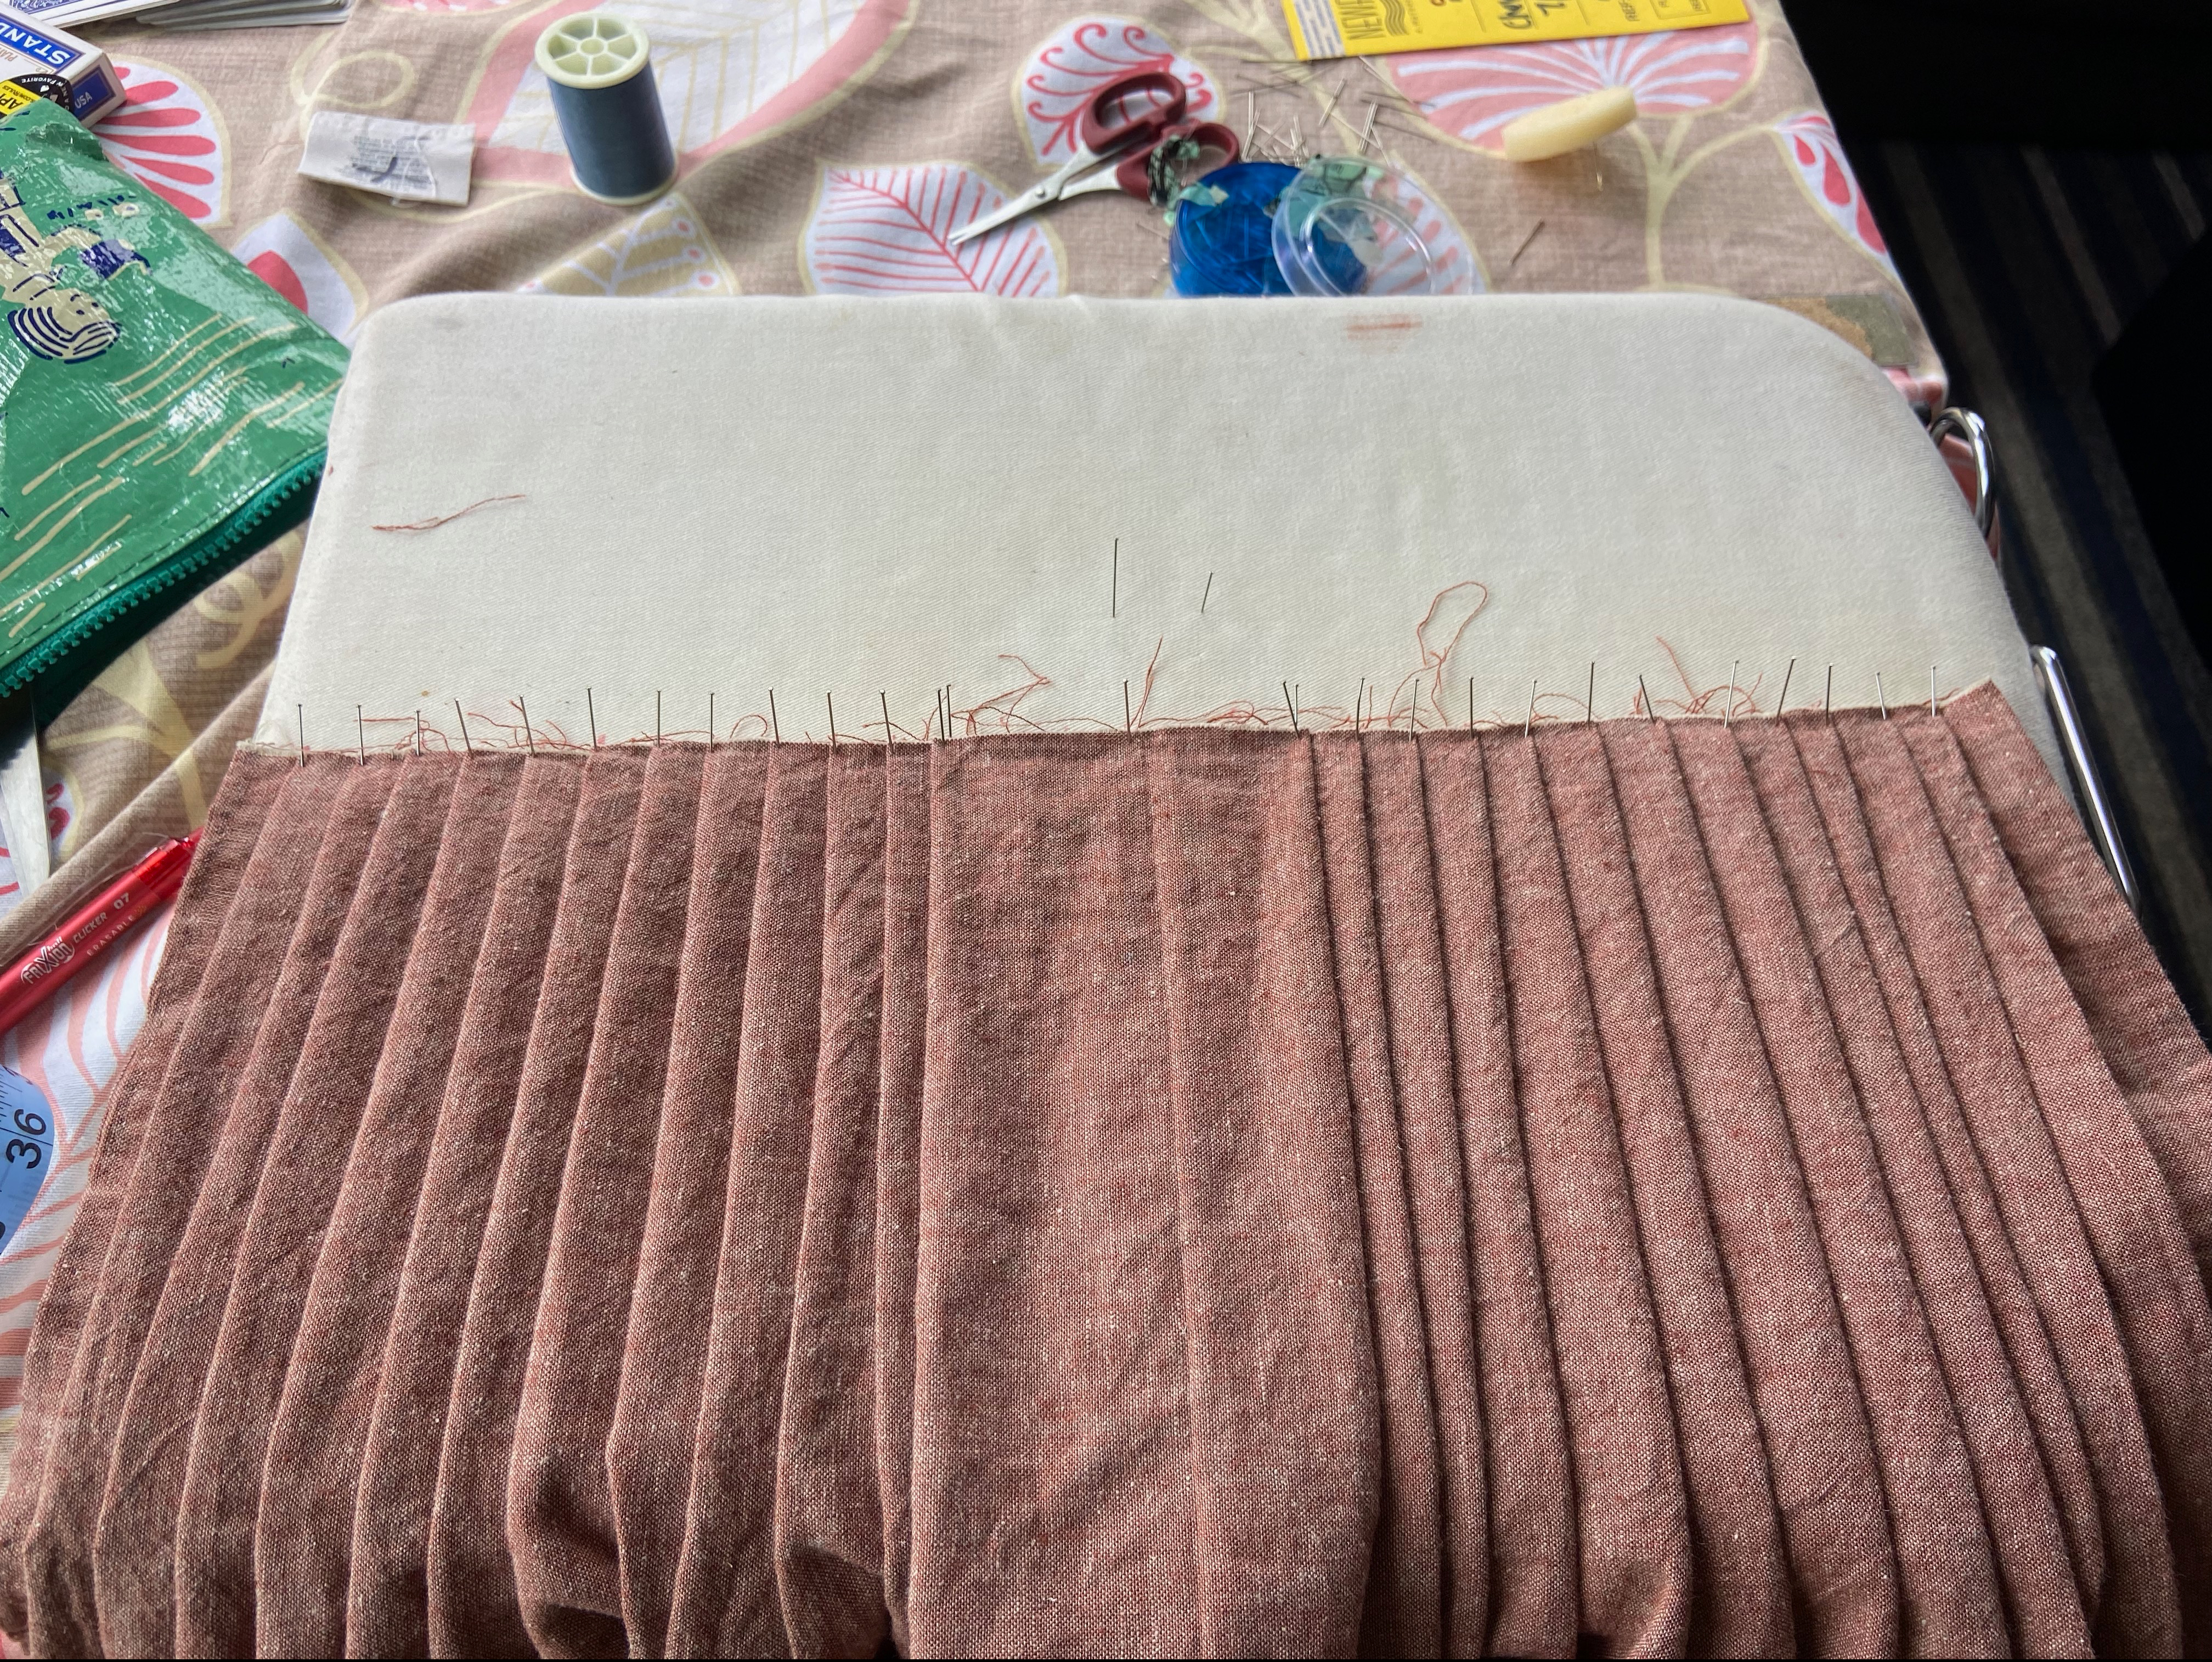
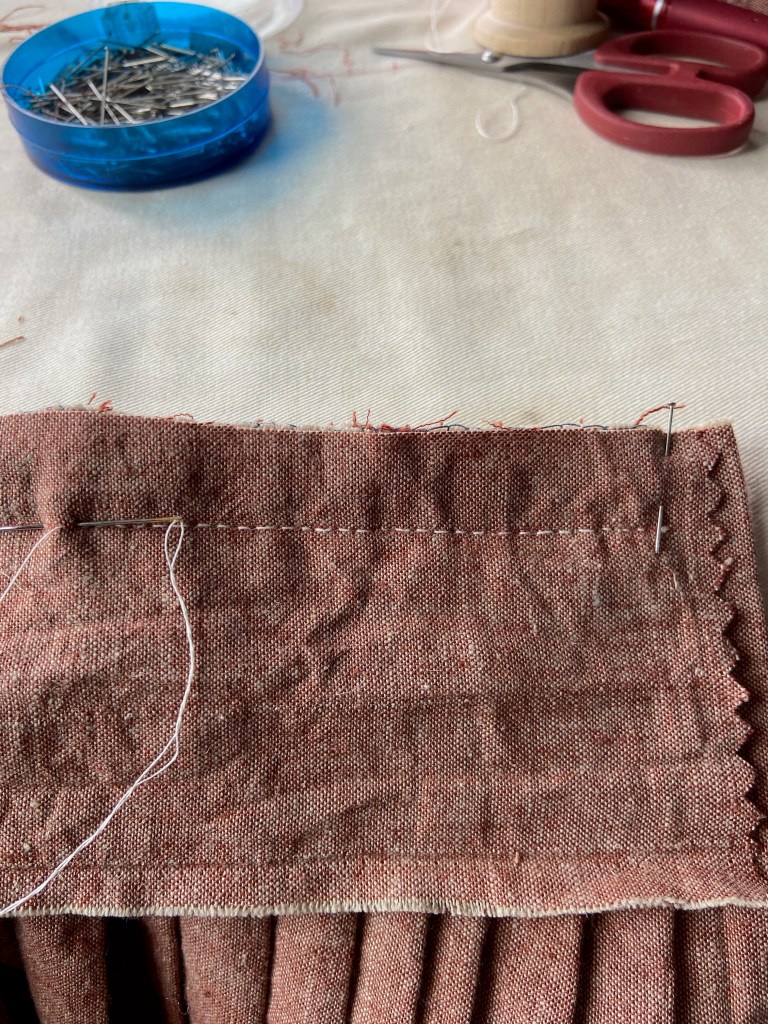
Then, I baste and iron the pleats in place, and I can remove the pins and sew the pleats in place with a buttonhole stitch along the top. Then repeat with the back panel. Once you are finished, you can just iron over the line and it disappears!

At this point, I tried the petticoat on over my stays and bum roll and measured how much the bum roll shortened the length to the floor in the back, compared to the front. I then folded that much over in the front (with a small snip in the center to ensure an even fold), then ran a buttonhole stitch along the top. This ensures an even hem.
Then I stitched on a simple waistband, inserting some twill tape from my stash on the ends for ties, folded up the hem about half an inch and stitched it in place, and the petticoat was finished!
I am so pleased with how it turned it out (though it might be just a tad too long for 1785, which is an easy fix), and have grown to love the color.
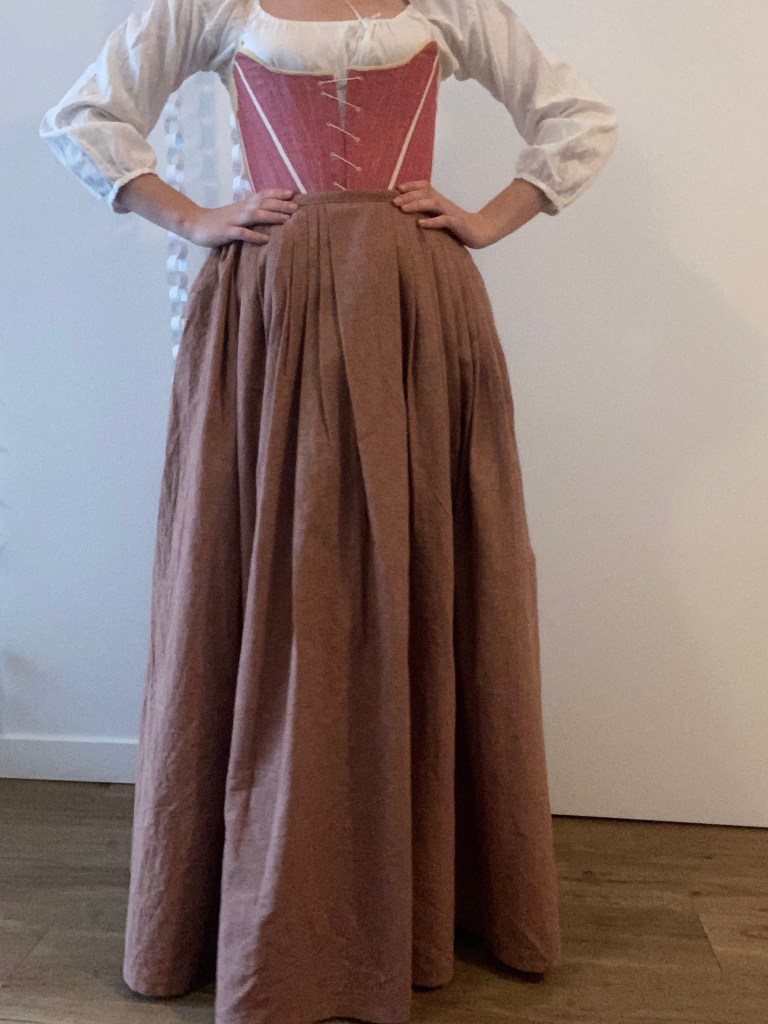

For the record, I did press this before taking these photos, but though my phone camera refuses to even focus properly, it is more than happy to pick out every single little crease in the linen…
Anyway, that is my adventure with 18th century petticoats so far! More to come about this ensemble soon, my friends.
